If you do not order managed storage from us with your Acronis service you will need to use your own storage cluster or gateway. ( unless you plan to use local backup locations on each agent and device) The most supported method will be to use the Acronis Cyber Infrastructure (ACI) install.
Using ACI as your storage gateway is very helpful if you plan to have multi storage nodes across your service that can be clustered from one Date Center.
However, if you plan to only use one single storage node/server or have multi storage servers in different locations you may want to opt for the standalone install as described below.
Information regarding ACI including Acronis install information, requirements and how to obtain the .iso can be found here : https://kb.acronis.com/acronis-cyber-infrastructure
CloudEvo Tips For ACI Storage Install
Downloading and Installing ACI (.ISO)
A full in depth guide can be found here : https://dl.acronis.com/u/software-defined/html/AcronisCyberInfrastructure_6_0_admins_guide_en-US/#installation.html
You can obtain the latest version of the Acronis Cyber Infrastructure .iso via your Acronis console that you set-up previously. You can find this by navigating to :
SETTINGS > Locations in the left menu > Add backup storage > Download ISO
You may also find the latest .ISO quickly a the following : https://kb.acronis.com/content/63431
Once this is downloaded you will want to mount the .ISO to your server. This is normally done via IPMI virtual drive or similar. You may need to contact your DC to have them enable this access for you so you can mount the .ISO locally. If you have trouble or need further information regarding the mounting of the .iso to a server please do not hesitate to reach out to us via your CloudEvo support portal.
When installing you will pick the options that are best suited for your requirements. Note that around Step 4 you will make sure to select the Primary Node as the option. Do this first even if you plan to deploy more than one node. Most users will only have one single server to be used as the storage gateway. Step 5 and 6 of this install should be to pick which disk mounts you will use on the server and setup your root information to access the server once the install is completed.
Creating the storage cluster via ACI
After the install is completed you should be able to access your ACI install via : YOURSERVERSIP:8888.
Once logged into the ACI install you will want to navigate to :
Infrastructure > Nodes > and then click Create storage cluster
You will then choose which disk you want to add to the cluster, name your cluster and other options. Once done > click CREATE.
Registering the Gateway to be used by Acronis Console and Agents.
Registering your storage gateway is required before your agents and devices will be able to utilize your storage server.
Before you can register your gateway you will be required to setup the proper DNS settings on your ACI install.
We have found that using this guide is the best method to understand how the DNS changes can be completed: https://dl.acronis.com/u/software-defined/html/AcronisCyberInfrastructure_6_0_abgw_quick_start_guide_en-US/#connecting-to-the-local-storage-cluster-via-backup-gateway.html
You may also use this guide if you have trouble : https://kb.acronis.com/content/63378
In Acronis Cyber Infrastructure, navigate to Storage Services -> Backup
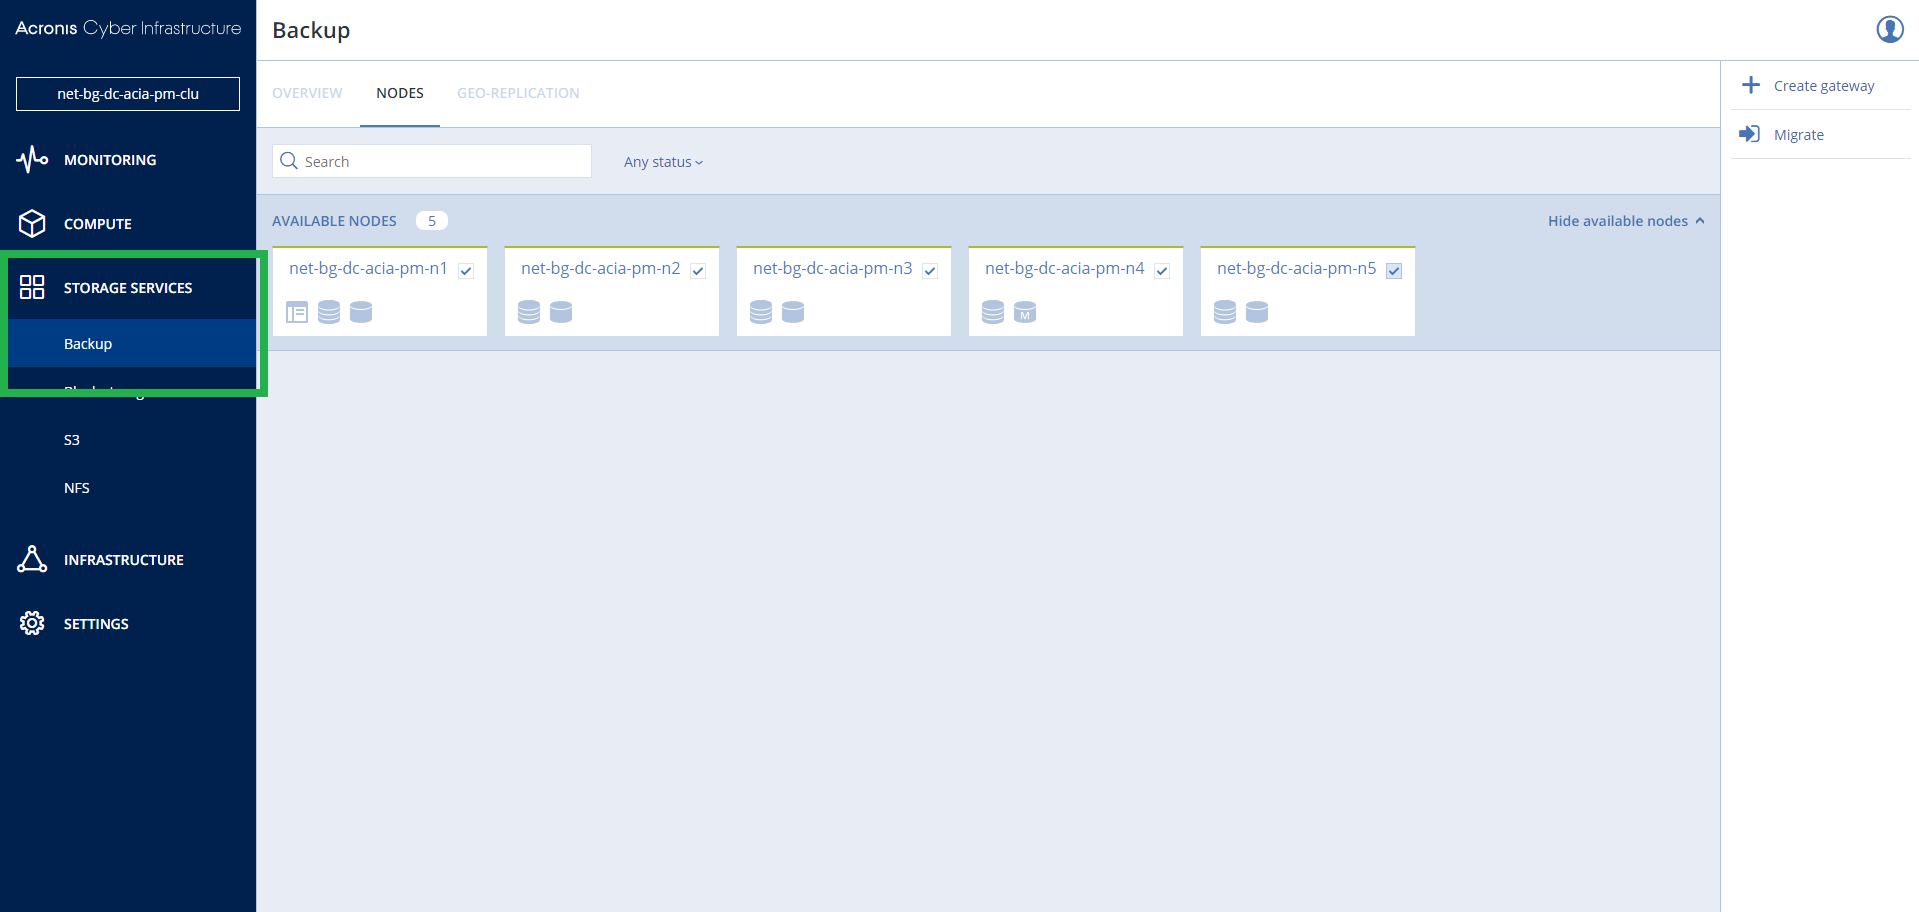
Select storage node you just created and select > Create gateway at the top of this screen
Here you will see the DNS settings as described in the article above.
Once your DNS settings have been updated you can then register this gateway on your Acronis console as follows :
You may use the following guide : https://kb.acronis.com/content/63378
Take note of the section Labeled ” Acronis Cyber Infrastructre: connect to Acronis Cyber Cloud via Backup Gateway” will also explain how to do the following steps:
On your ACI install navigate to :
Storage services > Backup storage > go to the Registrations tab, and then click Add registration.( this may be under the settings tab in some versions)
In this section you will enter your storage name and a DNS name. You may be able to use an IP as DNS name for this if you do not have access to customer DNS routing for domain names.
Enter the Acronis console URL from the service you created :
US Orders : https://console.cloudevo.com/
EU Orders : https://eu2-cloud.acronis.com/
Then enter the Acronis console partner information created previously when your CloudEvo account was provisioned.
Once this registration is completed you should be able to view your storage gateway by accessing your Acronis Console via your Partner account and navigating to :
Settings > Locations
You should then see your new gateway listed and ready to be assigned to any new agent and tenants you create.
Installing Acronis Standalone Storage Gateway
Standalone gateway information
Using the standalone gateway is suited for users who not only may not have access to mount the .iso but for users who may also not have full knowledge that is required for the in-depth install associated with the ACI method. Users who do not have the time to manually configure DNS, Networks, Firewalls and software will find this option very helpful.
The standalone method is also great for customers who plan to only have one single storage server/node for all of their services. This script completes all of the previous steps for you.
Note that as of writing this article the CloudEvo team is in engagements with Acronis regarding the use of standalone and we are fighting to have Acronis officially re-open and support this method for us and our customers and remove it from its EOL notice. CloudEvo will always support this gateway install for as long as the service allows it to be used. At this time our script does include the latest version of the storage gateway that ACI uses.
Standalone Gateway Install and Requirements
At this time the only real requirement that the standalone gateway has is Centos 7 or Alma8/9.
Installing the standalone gateway involves only running a few commands on your storage server.
Please contact CloudEvo via your clients section once you have placed your order and we will provide the most updated script and install guide to install the Standalone gateway.
Now that your storage gateway is registered you will want to create your customer / tenant account(s) and start backing up your devices!
Information on the next steps to take can be found here : https://wiki.cloudevo.com/knowledge-base/creating-customers-and-tenants-inside-the-acronis-console/